
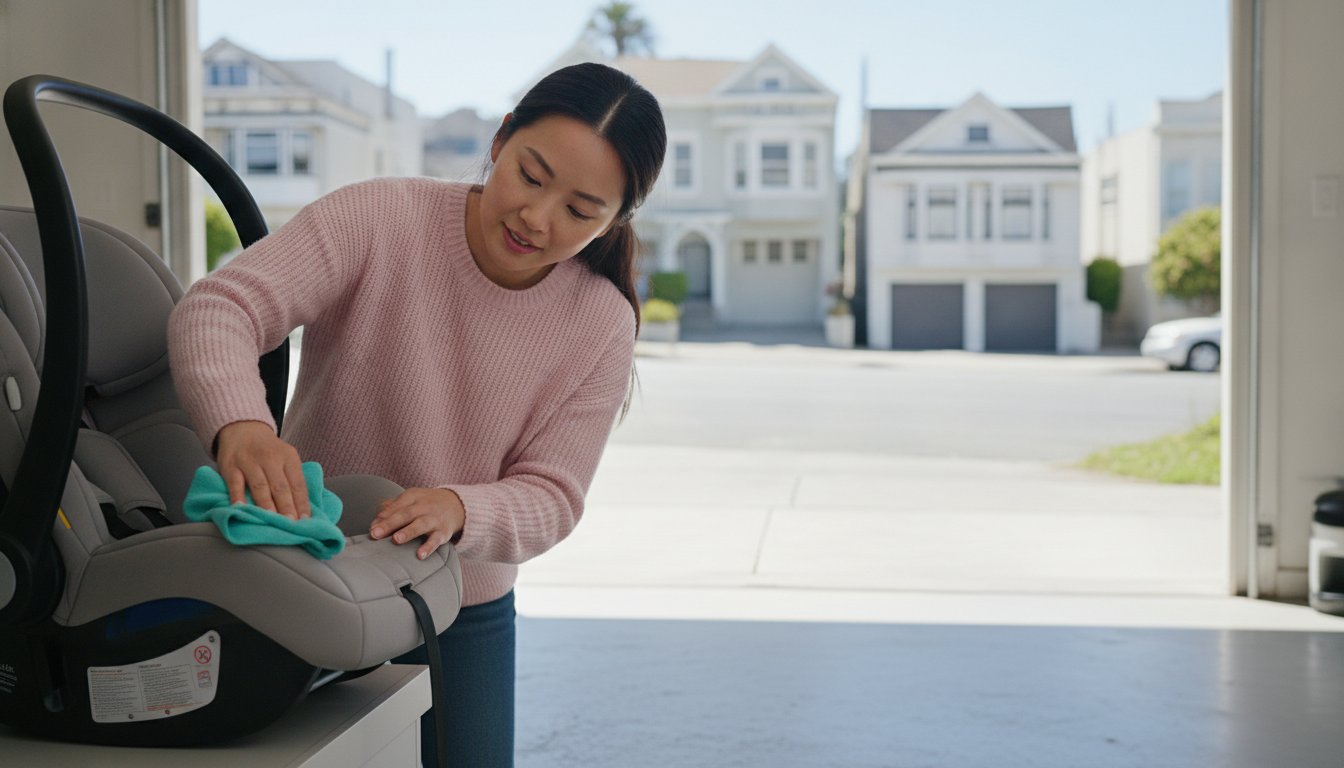
Last Tuesday, I looked back at the backseat and realized that “new car smell” was officially a distant memory, replaced by the unmistakable scent of sour milk. We’ve all been there, staring at a crusty buckle and wondering how to clean car seats without accidentally washing away the safety features that keep our little ones protected. It’s a delicate balance between wanting a fresh interior and worrying that a deep scrub might weaken the harness or strip away flame-retardant coatings.
Many moms feel a surge of panic when a blowout happens on a road trip, and I know that anxiety when you’re elbow-deep in suds. You want your car to feel clean again, but you also worry about using chemicals too harsh for your baby’s skin or being unable to put the seat back together. I’m going to show you exactly how to remove those stubborn odors and tough stains using gentle, non-toxic methods that won’t compromise the seat’s integrity.
We’ll walk through manufacturer-approved steps for refreshing the fabric and sanitizing the buckle so you can feel confident. Research suggests that correctly used car seats can reduce infant fatalities by 71%, so maintaining that gear correctly is essential for your peace of mind. By the time we’re done, your car will smell fresh, and you’ll know your child’s seat is still safe and ready for the road.
Key Takeaways
- Always consult your specific car seat manual first to ensure your cleaning methods don’t accidentally compromise the life-saving safety features or flame retardants.
- Discover exactly how to clean car seats effectively by focusing on the fabric while keeping the harness straps dry to maintain their structural strength.
- Learn why blotting is your best defense against fresh spills and how a simple vinegar solution can help neutralize even the most stubborn sour milk smells.
- Master the right way to rinse sticky buckles under lukewarm water and wipe down the plastic shell so every component latches securely every time.
- Pick up practical “mom-hacks” for choosing low-mess snacks and keeping an emergency backup kit ready for those inevitable roadside blowouts.
The Golden Rules of Car Seat Safety and Cleaning
Before you start scrubbing, you need to know which cleaning methods protect your child’s safety and which ones could accidentally put them at risk.
The very first step in learning how to clean car seats is finding your manufacturer’s manual. I know, it’s probably buried in a kitchen drawer or tucked into a pocket behind the seat, but it is your absolute best resource. Every brand has specific rules about which fabrics can go in the wash and which parts must stay dry. Following these rules isn’t just about keeping the seat looking pretty; it’s about ensuring the materials continue to perform exactly as they were designed during a crash.
While a comprehensive guide to auto detailing might suggest deep-cleaning every inch of your vehicle, car seats require a much more cautious approach. You should never use industrial cleaners or heavy-duty degreasers on any part of the seat. These products can leave behind residues that might irritate your baby’s sensitive skin or even degrade the plastic shell over time. Stick to the basics to keep things safe.
Why Harness Straps Require Special Care
Your child’s harness straps are the most critical safety component of the entire seat. You must never soak them in water or toss them in the washing machine. The webbing is designed with specific fibers that can stretch or lose their strength if they are fully submerged or exposed to high heat. If the straps become compromised, they may not hold your child securely during an impact. Instead, use a soft, damp cloth and a tiny drop of mild soap to spot-clean any visible grime. Always let them air dry completely before use.
The Problem with Harsh Chemicals
It is tempting to reach for bleach when you are dealing with a tough blowout, but harsh chemicals are a major safety risk. Bleach and other strong solvents can break down the flame-retardant coatings on the fabric. They also present a health concern. Infants have very thin skin that absorbs substances easily, so chemical residues can cause painful rashes or respiratory irritation. Research suggests that mild dish soap is the safest alternative for most seat brands. Some parents find that a simple water and vinegar mix works wonders for smells without the risks of toxins.
Finally, keep the crotch buckle clear of any oils or lubricants. It might seem helpful to use a spray to make a sticky buckle click better, but these substances actually attract more dirt and hair. If the buckle is sticking, a simple rinse with lukewarm water is usually all it needs to function perfectly again. Never use soap inside the buckle itself unless your manual specifically says it is okay. Keeping these components clean and oil-free ensures your little one stays buckled in tight on every trip.
A Simple Step-by-Step Guide to Refreshing the Seat
Taking the seat out of the car is the best way to ensure you don’t miss any hidden spills or crumbs.
Start by removing the car seat from your vehicle completely. It is much easier to see the sticky spots when you have the seat on a flat surface like your kitchen floor or a sturdy table. Learning how to clean car seats effectively starts with getting a clear view of every nook and cranny where messes hide.
Once it is out, use a handheld vacuum to clear out the “hidden” snack stash. You will likely find a surprising amount of cereal and crackers tucked into the crevices and the base. Getting these crumbs out first prevents them from turning into a soggy paste when you start cleaning with liquids.
Spot clean the cover using warm water and a tiny bit of gentle, baby-safe soap. Most manufacturers suggest air drying all components completely to prevent mold or mildew from growing in the padding. Never put the cover in the dryer unless your manual specifically says it is safe; the high heat can shrink the fabric or damage the foam.
When you put the seat back together, do it slowly and carefully. Check every strap to ensure nothing is twisted or caught. A twisted harness cannot distribute crash forces properly, which is why a smooth reassembly is just as important as the cleaning itself.
Removing the Cover Without the Stress
Removing the fabric can feel like solving a complex puzzle. I always recommend taking photos of the seat from several angles before you start pulling things apart. These photos will be your roadmap when you are trying to remember where each loop and hook belongs.
Look for “tug points” where the cover hooks onto the plastic shell. These are usually small plastic tabs or elastic loops tucked under the rim. Before you decide to toss it in the wash, check your manual one last time. While many pads are machine washable on a delicate cycle, others are strictly hand-wash only to protect the fire-retardant materials.
The Best Tools for a Mom-Style Deep Clean
You don’t need a professional detailing kit to get great results at home. A soft toothbrush is perfect for scrubbing those hard-to-reach fabric seams where milk spills like to hide. It provides enough agitation to lift stains without pilling the fabric. Keep a dedicated set of microfiber cloths in your trunk for quick wipe-downs.
Microfiber is much more effective at grabbing dust and lint than paper towels. If you are looking for more gear to make life on the go a little easier, our buyers guide for baby essentials might have just what you need. Having a few simple tools ready can turn a major blowout into a quick, manageable cleanup.
Tackling the Tough Messes: Milk, Blowouts, and Puke
Dealing with a sudden spill or a sick child is one of those parenting rites of passage that no one really prepares you for. When you are faced with a major mess, the secret of how to clean car seats effectively is to act quickly but gently. Your first instinct might be to scrub the stain away, but you should always blot fresh liquid spills instead of rubbing them. Rubbing can actually push the liquid deeper into the foam padding or pill the delicate fabric of high-end seats.
For those lingering smells that seem to haunt your vehicle, baking soda is a lifesaver. Once the fabric is dry, sprinkle a generous amount of baking soda over the area and let it sit for at least thirty minutes. This helps lift odors out of the fibers before you vacuum it up. If you’re dealing with a particularly stubborn scent, a simple mixture of one part white vinegar to two parts water can help neutralize the odor without using harsh chemicals near your baby.
Banishing Sour Milk and Formula Odors
Milk and formula are especially difficult because the proteins can curdle and get trapped in the foam padding under the cover. If a spill happens, you’ll need to remove the cover to ensure the liquid hasn’t pooled in the plastic shell. While breast pump insurance can help you stay prepared for feeding, keeping your car gear clean requires a bit of elbow grease. Some parents find that a “sun-dry” method works wonders. After washing the cover according to your manual, let it air dry in direct sunlight. The sun acts as a natural disinfectant and can help bleach out faint milk stains.
Handling Diaper Disasters on the Go
Diaper blowouts are a different level of stress, especially when you’re miles from home. I always recommend keeping a “mess kit” in your car that includes extra wipes, several large zip-top bags, and a few microfiber cloths. If a disaster occurs, use an enzyme-based cleaner specifically labeled as safe for baby gear. These cleaners are designed to break down organic proteins like those found in blowouts or puke.
When cleaning the crotch strap, remember the rule from our safety section: do not soak the webbing. Use a damp cloth with your enzyme cleaner to wipe the surface of the strap. If the mess is so extensive that the foam inside the seat is saturated, it might be time to contact the manufacturer. Some brands sell replacement covers and padding, which is a safer and much fresher option than trying to save a seat that has been truly overwhelmed by a “code red” diaper situation.

Cleaning the Hardware: Buckles, Bases, and Shells
Keeping the hardware free of debris ensures that every safety mechanism clicks into place exactly when you need it. While the fabric often gets the most attention, the plastic shell and metal components are what truly anchor your child during a trip. Learning how to clean car seats effectively means paying close attention to these moving parts without using materials that could cause them to fail.
I always suggest starting with a simple wipe-down of the plastic shell and base using a damp cloth and a drop of mild dish soap. This removes the surface grime and sticky fingerprints that seem to appear out of nowhere. While you are at it, take a moment to check the LATCH connectors and the adjuster strap. Crumbs often find their way into these small openings, which can prevent a secure connection to your vehicle’s anchors.
The “Click Test” for a Clean Buckle
A sticky buckle is more than just a daily annoyance; it is a potential safety risk. You will know your buckle is truly clean when you hear a crisp, audible “click” every time you insert the metal tongues. If the button feels sluggish or the tongues don’t lock easily, there is likely dried juice or snack residue inside the mechanism. I know it is tempting to use a toothpick or a butter knife to dig out the gunk, but you should never use sharp objects inside the buckle. You could accidentally damage the internal springs.
The safest way to fix a sticky buckle is to hold the buckle housing under lukewarm running water. Press the red button repeatedly to flush out any debris. Some parents on forums suggest using WD-40 or other lubricants, but you must avoid these entirely. Lubricants can actually attract more dirt or cause the latch to slip. If the buckle remains sticky after a thorough water rinse, it is time to contact the manufacturer for a replacement part.
Wiping Down the Car Seat Base
The base of the seat often takes the brunt of the mess, especially the “foot” area that rests against your car’s upholstery. This is where mud from little shoes and spilled milk like to pool. You should never submerge the entire base in water, as many models have internal energy-absorbing components or metal springs that can rust or degrade if they stay wet. Use a microfiber cloth to clean the exterior and ensure the level indicators are clear and easy to read. If you are looking for more ways to keep your vehicle organized and safe, our buyers guide for baby essentials offers practical solutions for every stage of parenting.
Before you finish, move the recline and adjuster mechanisms to make sure they glide freely. A quick check now prevents a struggle later when you are trying to tighten the harness on a wiggly toddler. Ensuring these hardware pieces are spotless gives you that extra bit of confidence before you hit the road again.
Pro-Tips for Keeping Your Car Seat Cleaner Longer
Effective maintenance and smart snack choices can save you from spending hours on deep-cleaning your car seat every month.
Once you’ve mastered how to clean car seats, the next goal is making that fresh feeling last as long as possible. I’ve found that choosing “low-mess” snacks like dry cereal or raisins is much easier than dealing with crumbly crackers that turn into dust. A quick “mini-vacuum” once a week prevents those crumbs from being ground into the fabric by a wiggly toddler.
If you are planning a long road trip, consider keeping a spare car seat cover in your trunk for emergencies. It is a total lifesaver when a blowout happens two hours away from your destination. Just make sure any accessories you use, like seat protectors, are specifically approved by your car seat manufacturer. Some parents use thick towels under the seat, but these can actually interfere with a tight installation and make the seat move too much in a crash.
Building Your Car Seat Emergency Kit
Keeping a dedicated mess kit in your vehicle helps you stay calm when things get sticky. I suggest packing a small bag with unscented wipes, a few trash bags for soiled clothes, and a spare towel to cover any damp spots. A small bottle of water is also great for immediate spot cleaning before a stain sets in. Always keep your manual in the designated pocket on the seat so you can check safety rules on the fly.
Knowing When to Replace Instead of Clean
There are times when even the best cleaning methods aren’t enough to keep your child safe. Most car seats have an expiration date, usually between six and ten years from the date of manufacture, because the plastic can become brittle over time. If you discover mold growing deep inside the foam padding, it is often safer to replace the seat entirely. Mold can be difficult to fully remove and may help cause respiratory issues for some babies.
Trust your gut if the seat feels “off” or if the harness doesn’t glide smoothly after a deep clean. Research suggests that correctly used car seats reduce toddler fatalities by 54%, so the integrity of the gear is everything. If you are ever in doubt about whether a mess has compromised the safety features, it is always best to reach out to the manufacturer for guidance.
Hit the Road with a Fresh Start
I know that a clean car can feel like a small victory in the middle of a busy week. Mastering how to clean car seats is really about more than just getting rid of that lingering sour milk smell; it is about protecting the gear that protects your baby. By keeping those harness straps dry and ensuring your buckles click clearly, you’re maintaining the safety standards your little one depends on. We’ve been a trusted resource for parents since 1994, and we want to help you feel prepared for every mile of your journey.
Our expert-vetted safety tips and mom-to-mom tested cleaning hacks are designed to give you peace of mind without the stress of harsh chemicals. If you are ready to upgrade your gear or just want to see what’s new, check out our latest 2026 car seat safety reviews! We are here to walk this path with you, one clean buckle at a time. You’ve got this, mama, and your next family road trip is going to be so much more comfortable in a fresh, spotless ride.
Common Questions About Car Seat Care
Can I put my car seat cover in the dryer?
No, you should almost never put your car seat cover in the dryer. The high heat can shrink the fabric, making it impossible to fit back onto the plastic shell, and it can also damage the essential fire-retardant coatings. I always recommend letting the cover drip dry or laying it flat on a drying rack to keep the materials in top safety condition.
How do I get the smell of vomit out of a car seat?
To remove the smell of vomit, start by blotting up any liquid and then use an enzyme-based cleaner that is safe for baby gear. These cleaners break down the organic proteins that cause the odor. For any lingering scents, some parents find that a mixture of one part vinegar and two parts water helps neutralize the smell without using harsh chemicals near your little one.
Is it safe to use Clorox or Lysol wipes on a car seat?
Most manufacturers advise against using disinfectant wipes like Clorox or Lysol on any part of the car seat. The harsh chemicals in these wipes can degrade the integrity of the plastic and weaken the fibers in the harness straps. Stick to a simple solution of mild dish soap and warm water to keep the seat clean and safe for your baby’s skin.
What should I do if my child pees in their car seat?
If your child has an accident, remove the cover immediately and blot the padding to prevent the liquid from soaking into the seat’s shell. Wash the cover according to your manual’s instructions and spot clean the harness straps with a damp cloth. It is important to let everything air dry completely before reassembling the seat to prevent any mold or mildew from growing.
Can I use a steam cleaner on my infant car seat?
You should avoid using a steam cleaner on your infant car seat. While steam is great for your own upholstery, the intense heat can damage the energy-absorbing foam and the fire-retardant chemicals in the seat’s fabric. Learning how to clean car seats safely means sticking to gentle, low-heat methods that won’t compromise the seat’s ability to protect your child in a crash.
How do I clean car seat straps that have been pooped on?
When cleaning straps that have been soiled, use a soft cloth with warm water and mild soap to gently wipe the surface. You must never submerge the straps in water or put them in the washing machine, as this can weaken the safety webbing. If the mess is truly overwhelming, contact the manufacturer to see if you can buy a replacement harness rather than risking a deep soak.
Can I use a pressure washer to clean my car seat?
Never use a pressure washer to clean your car seat. The extreme force of the water can crack the plastic shell, tear the fabric, or dislodge the safety labels that contain vital installation information. It can also force moisture into the internal mechanisms where it can’t dry, leading to rust or mold. A gentle hand-wash is always the better, safer choice for your baby’s gear.
What if I lost my car seat manual and do not know how to clean it?
If you’ve lost your manual, you can almost always find a digital copy on the manufacturer’s website by searching for your specific model and manufacture date. Knowing how to clean car seats correctly requires following these specific brand rules, so don’t guess if you’ve misplaced your paper copy. Most brands also have customer service lines where you can ask about approved cleaning products for your specific model.
Disclaimer
Pregnancy Magazine content is based on the latest research and information available, but is not meant to be medical advice or instruction. See a medical professional for direction for your specific situation or case.
We strive to be objective in our buyer's guide reviews and usually compare a variety of products in a category. Pregnancy Magazine is supported by sales from referring links.


